Saturday, November 26, 2011

Happy Holidays!

HEY! IT'S HOLIDAY TIME!!

Sorry it's been so long since I have put a post on. We started our Texas Twister fairs the first of April, and finished the middle of October. A twister is a drink we make with fresh squeezed oranges, lemons, and limes in our family's secret base. It's so fun, but a lot of work. We took two weeks off to take a cruise to Alaska and LOVED it. We only had one or two other weekends that we didn't have a fair, but were so tired we barely had time to prepare for the next fairs. I felt bad about leaving all the work to my daughters, (especially Juli) but didn't have a choice or the energy. Hopefully I can get back into the swing of things. I'm having lots of fun with my sewing machine again. So many cute things, but so little time to do them all!! Here are a few of the things I've been doing. Hope you enjoy them.

Sewing/Embroidery


This will be a cute pillow for a bed. Sorry it's not
ironed! I was in Oregon and in a hurry to get the
pillow front and quilt block to the buyer.


This is the Mt. Timpanogos L.D.S. Temple in
American Fork, Utah. It will either be a quilt
block for the middle of a quilt, or a pillow.


I love Thanksgiving! Especially when it can be spent with family! 
It's fun to have things around the house to remind you to "Count Your Blessings". 
We have so much to be thankful for, it should take the whole season to think of them all. 
It's fun to have towels for every event, season or month.
Here are a few I could have made.


It almost seems like Thanksgiving get left out because all the retailers are excited to get Christmas merchandise out, but we don't have to forget it. Here's another towel to get people in the mood. I will be doing sets of towels for months, seasons, and holidays, so these will be included in one or more of the sets.


Placecards/Invitations

I found a cute idea in a woman's magazine that I just had to try. If you live in a place that has large oak trees, you will have much bigger & cuter acorns. I went up the canyon to Maple Grove and picked up several acorns. Our trees are small, so the acorns were small. If the cap still has the nut attached, just twist the nut and it will come right out. Several of the ones I found were doubles (attached at the top), so I made balls for both sides. I started by cutting circles out of minkee or some other fuzzy fabric. As you can see, my circles are not perfect because I didn't use a pattern. It really didn't matter in the end.


Stitch around the circle with thread, put a cotton ball in the middle, pull the thread tight to make a ball, stitch through the top until it's secure, and then tie it off. Since my acorn caps were pretty small, I had to cut the cotton ball in 4ths so the ball was the right size for the acorn cap. If you live where there are BIG acorns, you'll have to make bigger circles with bigger cotton so they fit nicely. We just have small oak trees, so hence, small acorn caps.


After stitching around the edges, adding the cotton ball, pulling it tight and knotting it, I used my handy glue gun to fill the cap half full of glue and then stuffed the gathered end into the cap & hold! They turn out really cute. The only other thing I would do is spray the acorn cap with shiny craft spray to make them glossy. My spray was way up on garage shelves with the Christmas stuff, & I didn't go to the trouble of searching for it.


Here are a couple of ideas for their use: Party invitation or a way to let people know where they are sitting at a dinner. I'm sure you can think of others.


Thanks for reading our blog!! Hope you had a fantastic Thanksgiving! See you soon!! Mother Hen--Barbara

Tuesday, November 8, 2011

Birthday Book

Hello there!!
Today I want to share a gift I made for Mother Hen last month for her birthday.  As some of you know, Mother Hen travels a lot.  And when I say a lot, I mean A LOT!  She travels all over the country selling Texas Twisters at fairs, normally every weekend from June to October. So when it comes to kids and grandkids birthdays, she has to send cards for most of them.  More than once I've gotten a call from Mother Hen, asking what birthdays were coming up for the next couple weeks.  I really don't mind telling her, but I decided I could come up with something cute to help her keep track of the birthdays.
So I made her a birthday book!  What is a birthday book, you ask?  Well, here ya go!  Prepare for picture overload!


I'm sorry I don't have any before pictures, but I basically took an old photo album that I had, recovered it, and re bound it.  I was initially going to keep the same binding that the photo album had, but after decorating each of the pages, the book was too big.  So I punched holes in each page, attached eyelets, and bound it with fishing wire.  Not my first choice for binding, but it worked!


For the pages, I cut a piece of cardstock to the size of the cover. Then I used another piece of cardstock, cut it an inch shorter, and folded the edges over the back, making a pocket in the front on the right side.  For the left side, I just printed out a calendar for each month, wrote on the birthdays, and glued it on, which covered the folded edges from the pocket side (did that make sense??).

I wanted to have a pocket for each month so she could keep birthday cards in it.  I made a few of the birthday cards, and then bought the rest.  So not only does she have a calendar that she can take with her, but she has birthday cards ready for an entire year!  All she has to do is fill them out and mail them!  I also did the calendar this way so she can write in birthdays when needed.  Our last birthday calendars were missing quite a few grandkids that hadn't been around when the calendar was made. 

So here's how I decorated the pages for each month.  I owe a huge thanks to my awesome sister Jacki for helping me do some of the pages.  I'm pretty sure this would have ended up as a Christmas present for Mother Hen if Jacki hadn't helped me! :)  On the right side of each page, you can see I attached ribbon.  I was trying to figure out how to print on ribbon so I could type the month on each ribbon, but it just didn't happen.  So I just picked ribbon that coordinated with each page.


I finished off the book by adding some ribbon to tie it closed.  It was bound with fishing wire, but the ribbon helped keep it together.

I love how it turned out, and I know Mother Hen really appreciates it!  So what do you think? 
Thanks for reading!!
-Juli-

Linking to these great parties!

Sunday, October 30, 2011

Angry Birds Pumpkin

Happy Halloween!!      (...almost)

Every year, the bank that I work at has a pumpkin carving contest.  I've never been good at carving pumpkins, so I always 'decorate' my pumpkins.  Last year I made my pumpkin into a mummy, and the year before that it was a witch, complete with hair and a hat.  This year I wanted to do something fun and unique, but I also wanted to do something that the kids would recognize so they would vote for my pumpkin. :)  And what kid doesn't love Angry Birds?!?  Heck, what adult doesn't love Angry Birds?!  So here's what I came up with!
What do you think?  I was originally going to do the red bird but I didn't have red paint.  I had plenty of green paint, so I went with the pig.  Then I saw the queen pig, and decided the crown would be the perfect addition!  Do you want to see how I made the eyes, nose, and crown?

Of course, I started by painting the pumpkin green.  I only did two coats, and it seemed to be enough.
Then I started making the accessories while the paint dried.  For the eyes, I cut two big circles out of white felt.  Then I hand stitched around the outside edge of the circle.
I finished the eye by pulling the two ends of thread together, putting a bit of stuffing in the pocket, and tying a knot with the thread. Then I just cut little circles from black felt to make the eyeballs.
Next is the snout. For this, I just cut the shape that I wanted out of felt, then cut strips of felt for the side of the nose.
I put the side and snout together, and hand stitched them together.  This would have been much easier if my sewing machine wasn't broken, but oh well! Last, I did the same as I did with the eyes, and stitched around the edge of the strips of felt that were attached to the snout.  Then I gathered the two pieces of thread together, put some stuffing in it, and tied a knot.  I cut two different sized ovals from black felt, and hot glued them to the front of the snout.
I did the same thing for the ears.  Cut out the shape, stitch two together, turn inside out, fill with stuffing, and glue black felt to the front.  Easy peasy! :)
The crown was really simple. I took a piece of felt, folded it in half, and cut the triangle shapes off the top.  Then I glued all the sides together, cut blue felt circles, and glued the gems and circles to the crown.  Then I just glued the sides of the crown together.
 The only thing I didn't show was the eyebrows, because all I did was cut the shapes out of black felt, and hot glued them to the pumpkin.  I used hot glue to attach the eyes, nose, and ears.  If kids will be touching it, you might want to use pins to attach them.  The glue holds ok, but if anyone pulls on it, the pieces will come right off.
 So there you have it!!  What do you think?  My kids absolutely loved it, and I had so much fun making it!  Thanks so much for reading!!
Juli

Tuesday, October 25, 2011

Halloween craft for the kiddos!!

On Sunday I promised that I would share a fun fall craft that I did with my kiddos, so here it is!

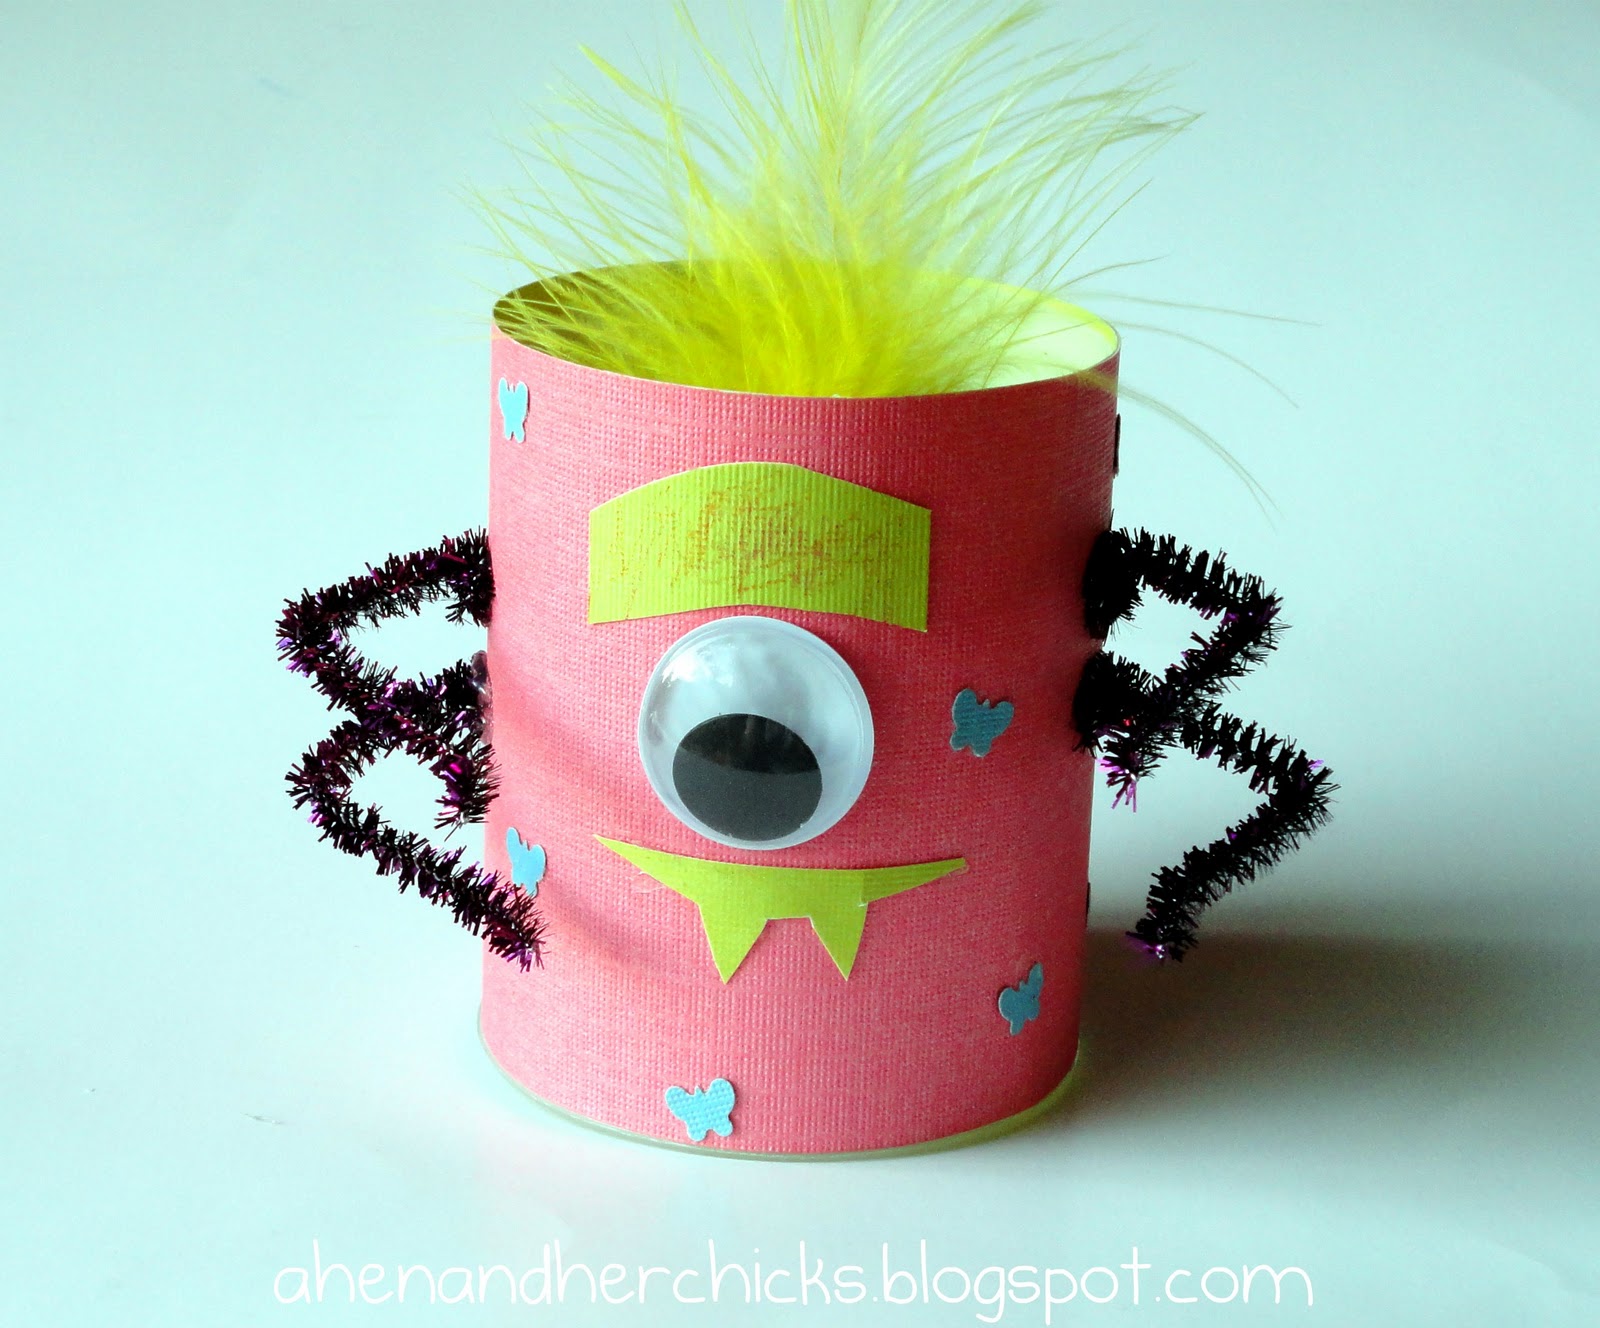
The last couple weeks, I've been racking my brain, trying to come up with something new and fun for Halloween.  I'm on a really tight budget, so I didn't want to spend any money on new decorations.  As you've seen in my past posts, HERE and HERE, I really like to reuse and recycle items and turn them into something fun.  So here's what we made.  Can you guess what they're made out of?
 So did you guess what they're made out of?  Well, wonder no longer! :)
I originally wanted to use empty toilet paper rolls, but when I came up with the idea, we didn't have any empty rolls.  So I looked around, and in my recycle pile were these containers.  We go through this 'juice' like crazy!  My husband is diabetic, so anything sugar free is a hit in our home.

So I took off the wrappers and cut all the containers in half, and went to town!  My two oldest kiddos LOVED helping with this!  I have to admit that I'm kind of a perfectionist, so sometimes it gave me hives to sit and watch them do these crafts! But we loved it, and the kids did an awesome job!  In fact, my kids were begging me to let them make more!   Here they are with their favorite ones! :)
 Well, this is definitely a craft we will be doing again!  And the best thing about these is that they actually fit on my itty-bitty mantle and didn't cost me a penny!  I can't think of a better decoration for my house than kid-made crafts!!  I love them!  We might just be making these into turkeys next month!! :)

Thanks for reading!
-Juli-

Sunday, October 23, 2011

Fall Fun!!

Hey there!!  Can you believe we only have one week til Halloween?  This year has just flown by, and I'm starting to hyperventilate knowing that Christmas is just TWO short months away.  Yikes!!  But let's not think about that right now!!

Right now I want to focus on how much I LOVE fall!!  We have been having so much fun around here, and I thought I'd share what's been going on!!  
One thing we make time to do every year is to go to our local pumpkin patch.  The pumpkins are way overpriced, but the kids love the petting zoo, the hay rides, and picking out their very own pumpkins!

 So fun!  We've also kept busy with some fall crafting!  Do you remember when I made this wreath?
That started the fall season for me!!  I've even done some fall crafting with the kiddos!! I'll share the actual craft with you later this week, but we had some good old googly-eyed fun that had us all rolling!

 I also made my first apple pie of the season, which is really good for me considering I'm not a very good cook!!  I guess I can't take all the credit since my parents gave me the apples sliced and ready to go! But I put it in the oven, right? Doesn't that mean I get most of the credit?!
I've been so busy lately that I just barely got motivated to decorate my house for Halloween.  So, so sad...because I LOVE Halloween!!  I asked for your advice Here as to how I should decorate my doorway, but I still just ended up doing the same thing I always do!  

 I loved my fall wreath so much that I decided to leave it up for a while longer.  So all I did was buy a $2 bag of cobwebs and stretch them out across our entryway, just like I did last year.  We already had the spiders and bats, so we added those to the cobwebs and called it good!  It was super easy.  And even though it's the same thing I do every year, my kids get a kick out of it! They love how creepy our house looks.  Maybe next year I'll be more motivated to get new decorations, but for now, this works!

Did you decorate for Halloween?  Do you have your costumes ready?!
Well, stay tuned later this week for a fun Halloween craft to make with the kiddos!
Thanks for reading!

-Juli-


LinkWithin

Related Posts Plugin for WordPress, Blogger...